
Create reports and visualizations with data from Codat and other sources by using a data warehouse
Codat provides a standardized data format and a universal API for integrating with accountancy applications and financial data sources. If you use Codat, chances are you also use other SaaS tools for things like online ads, analytics, CRM, and customer support. You could benefit by combining data from all of their cloud platforms and internal databases to surface insights and improve their performance — but how?
The best tactic is to create a data warehouse that consolidates all of an organization’s data in a single location. Most businesses nowadays use cloud data warehouses for that purpose.
To populate a data warehouse, you can extract data from SaaS applications and on-premises databases and load it using an ETL (extract, transform, load) tool. Once the data is available, analysts can use it to create reports.
In this post, we’ll walk through the process of connecting Codat to the Stitch ETL platform, setting up replication to a data warehouse, and accessing the data with a business intelligence (BI) tool to create reports.
Three tiers of the data analytics architecture
Data sources like Codat form a foundation for a data analytics stack that comprises three additional tiers:: ETL software, data warehouse, and BI software.
Stitch provides a simple, powerful ETL service for businesses of all sizes. Signup is simple — you can be moving data from one or more sources to a data warehouse in five minutes.
The last few years have seen the emergence of cloud-native data warehouses such as Amazon Redshift, Google BigQuery, Snowflake, and Microsoft Azure SQL Data Warehouse. Because they run on cloud platforms that scale quickly and cost-effectively to meet performance demands, they can handle transformation using the same infrastructure on which the data warehouse runs.
Finally, to unlock the value of your data, you can connect a BI or data visualization tool to your data warehouse and create reports that analyze data from multiple sources, which you can share via browser-based dashboards.
Setting up a data warehouse
We’ll set up our data analytics stack starting with the data warehouse. If you don’t already have a data warehouse, choose one that meets your needs. If you choose Redshift, BigQuery, Snowflake, Azure SQL Data Warehouse, or one of the other destinations Stitch supports, you can follow the setup steps for your data warehouse in the Stitch documentation.
Setting up Stitch for ETL
The next step is setting up an ETL pipeline to move data from your sources to the data warehouse. Stitch makes extracting data from a source and loading it into a data warehouse easy. To get started, visit the signup page, enter your email address, then enter your name and a password.
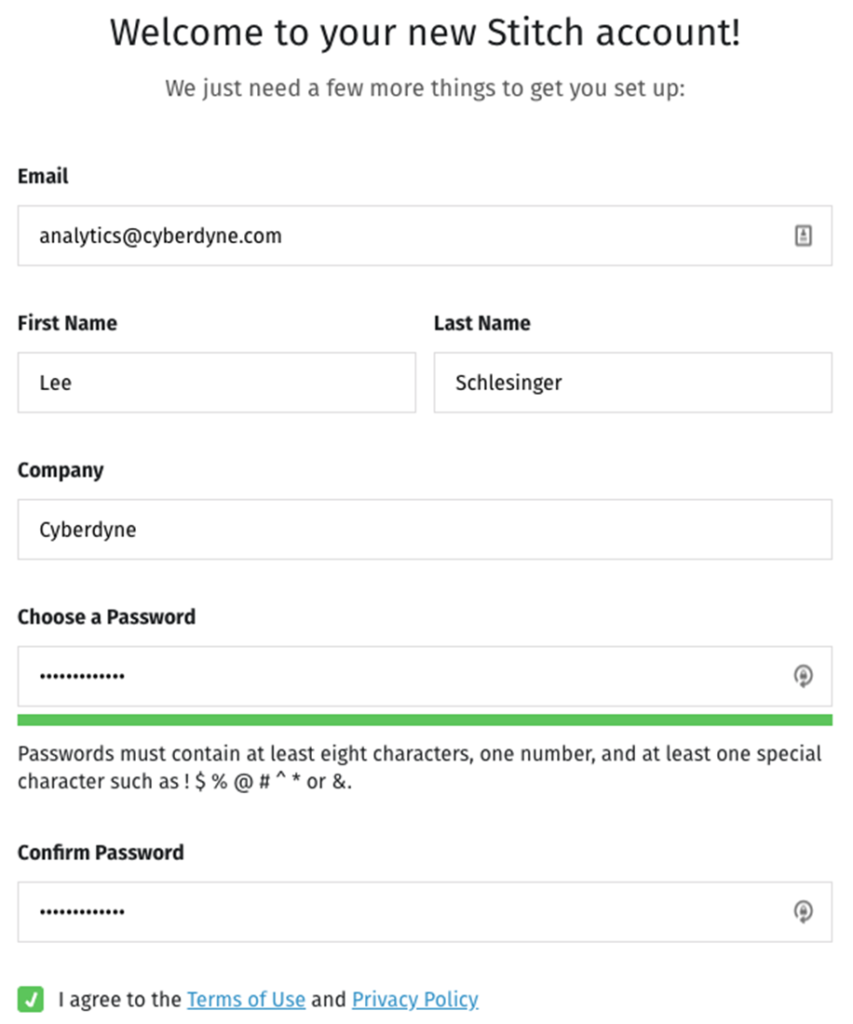
Add an integration
Next, add Codat as an integration within Stitch. Click on the Codat icon to get started:

Enter a name for the integration. The name will display on the Stitch dashboard for the integration and will be used to create the name in your destination. You must also enter an API key, which you can generate by following the documentation.
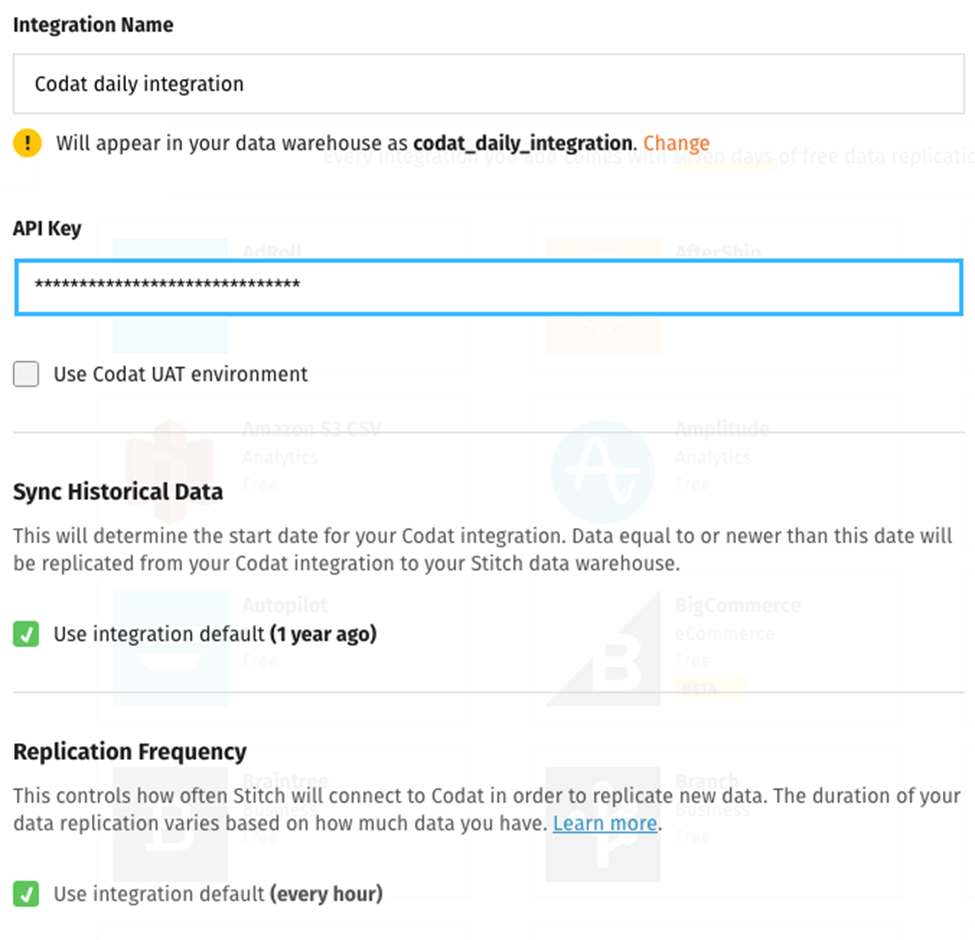
The first checkbox specifies whether you want to use Codat’s user acceptance testing (UAT) environment. If you leave it unticked, you’ll use your production environment.
The other two settings ask how much historical data you want to replicate to your data warehouse and how often you want to replicate new data.
When you click Check and Save, Stitch displays another screen that lets you choose what tables you want to replicate.
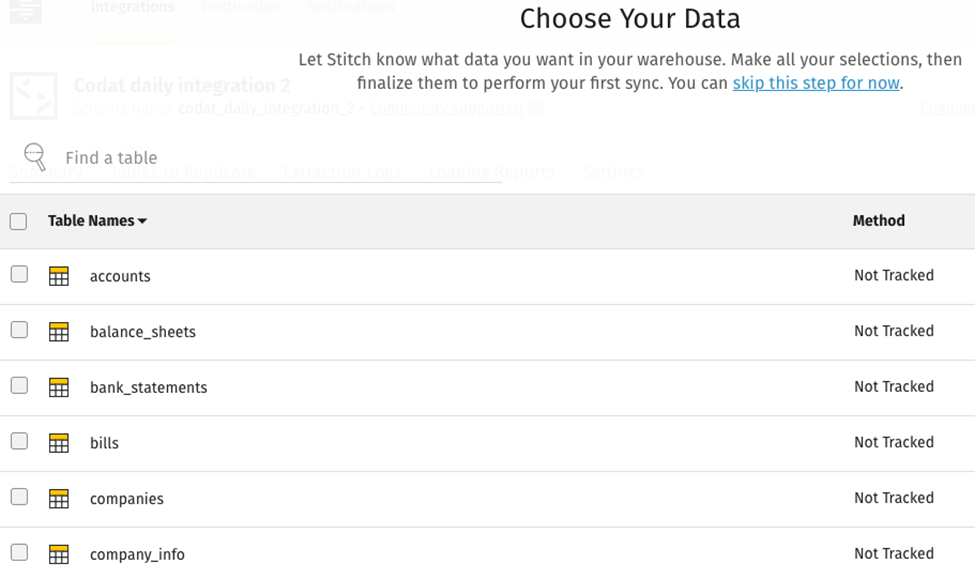
Each time you check a table, Stitch will display all the fields in the table, which will be checked off for replication.
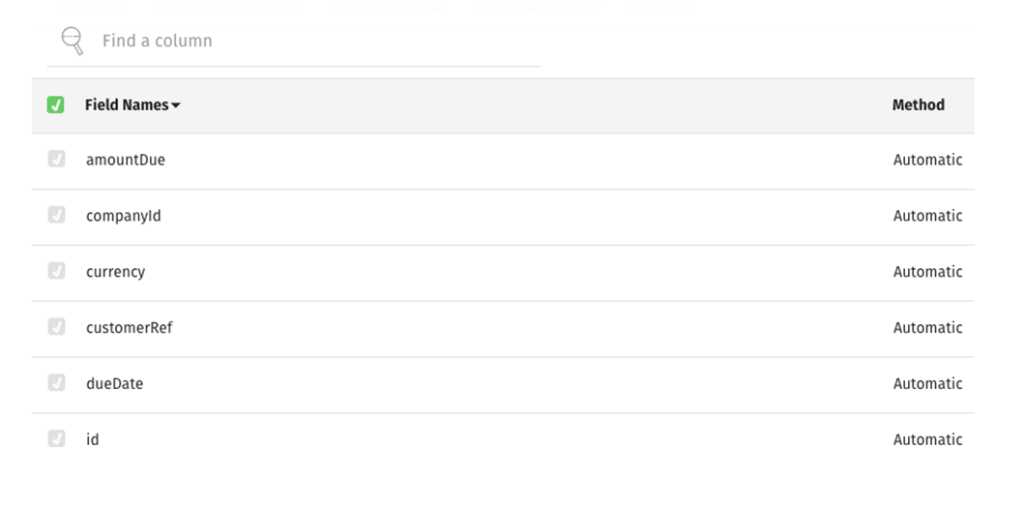
When you’re done with one table, click the name of the integration in the breadcrumb bar to return to the previous screen, where you can select additional tables. When you have all you want, click Finalize Your Selections, and voilà, your integration has been added. All new fields and records of the types you’ve selected will be replicated to your data warehouse — but first you have to connect the data warehouse you set up to Stitch as a destination.
Add a destination
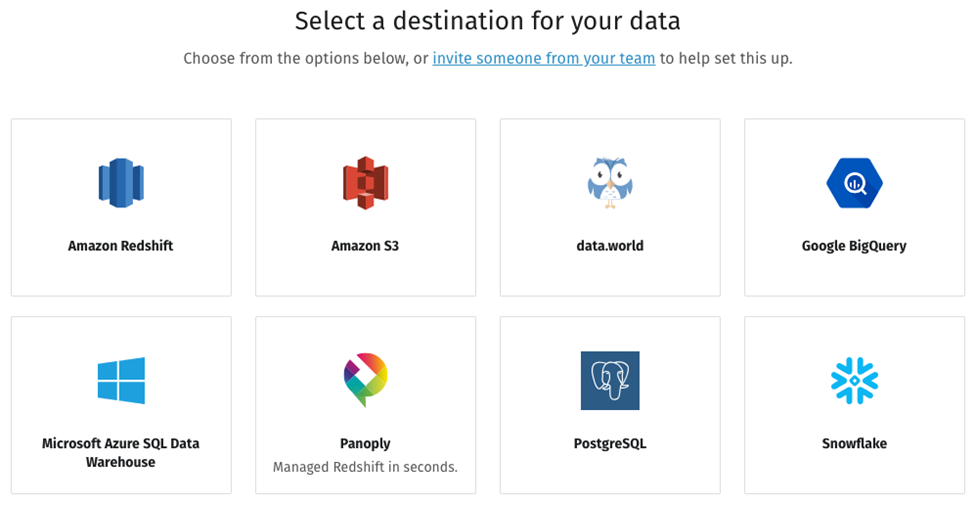
Suppose you’ve chosen an Amazon Redshift data warehouse. Clicking on the Redshift icon brings you to a screen where you can enter your credentials:
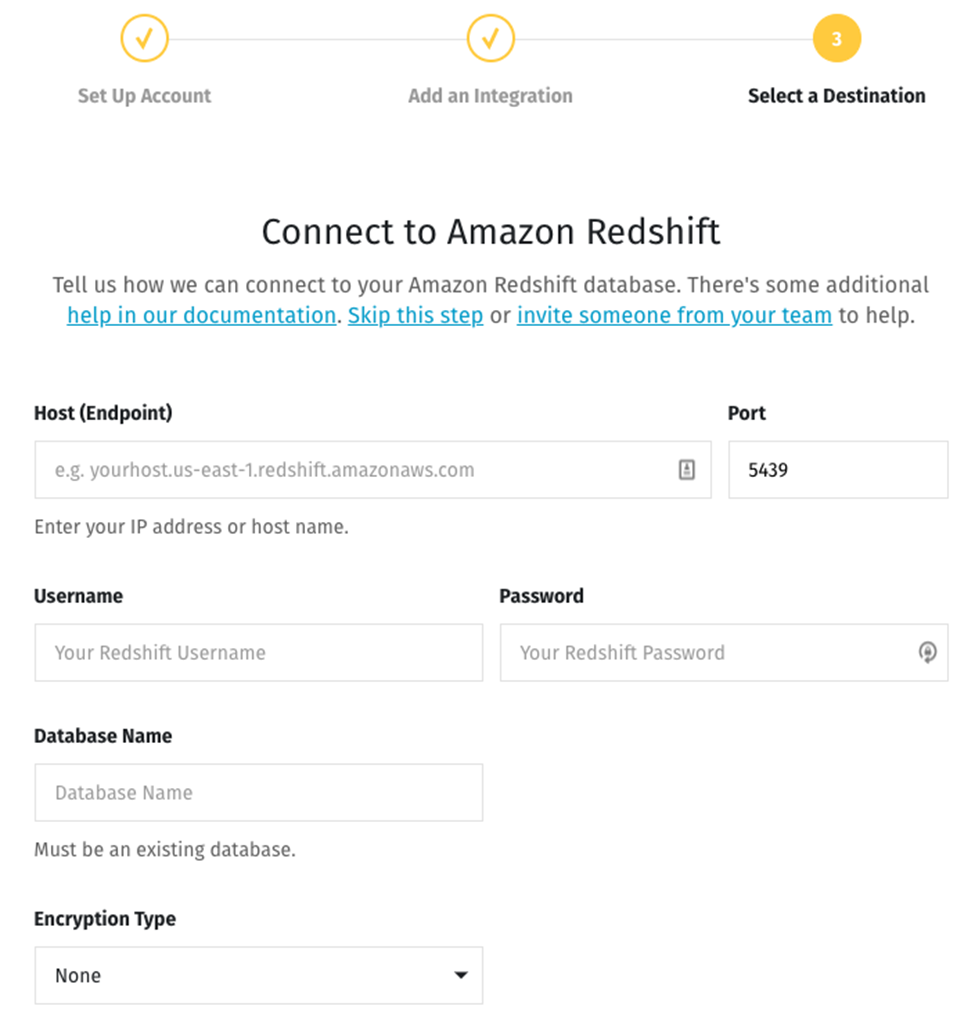
Now all the pieces are in place, and the data is ready to flow.

When you visit your Stitch dashboard, the status for your new integration may show as pending while Stitch schedules the initial replication job. If you refresh the screen after a few minutes the status will change to active.
From the dashboard you can also do things like adding integrations from other data sources. The Stitch documentation walks through the process for each one.
Connecting BI software to your data warehouse
Finally, you can connect an analytics platform to your data warehouse. If you don’t already use BI software, you have dozens of analysis tools to choose from, including popular options such as Tableau, Microsoft Power BI, Google Data Studio, Looker, Chartio, Periscope Data, and Mode.
That’s all there is to it. Using an ETL tool like Stitch to move data from Codat and other sources into a data warehouse lets you employ BI tools to correlate and report on data from all of your sources.
Thanks to Lee Schlesinger and our friends at Stitch for this contribution to our blog. You an find out more about how Stitch works with Codat here:
